Post by MartinT on Nov 10, 2015 20:52:30 GMT
Modding the Beresford Caiman-II DAC
Part 1
This set of mods will bring your Caiman-II DAC up to Venom-3 level and a little further. A warning is appropriate here: if you cannot solder, this is not the project to learn on. Some of the components are extremely tiny and you run the risk of trashing your very nice DAC.
Shopping List
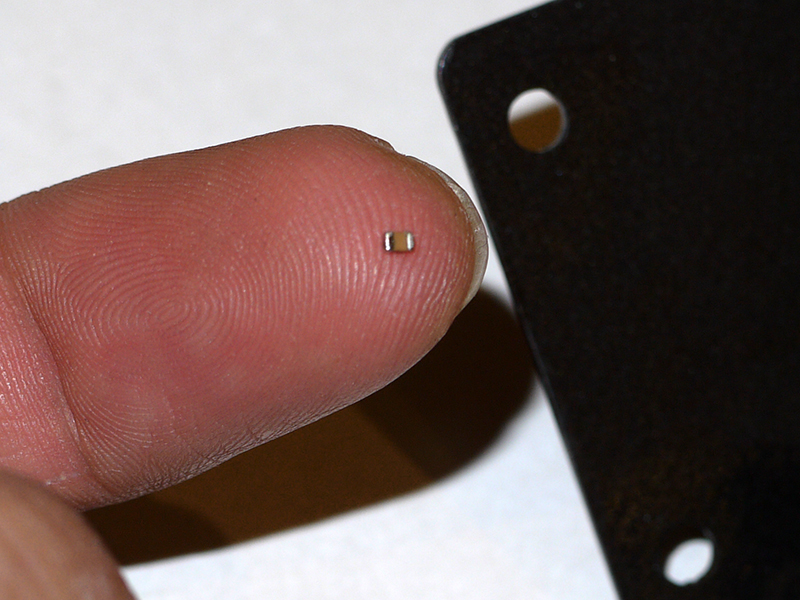
Unfortunately I thought I was buying B size SMD caps but what arrived were C size - too large to fit the solder pads. So C43, C49 and C44 (as well as R47/R48) are not yet done in my part 1. Since I won't need to remove the PCB again, part 2 will at least be easier to implement.
Tools
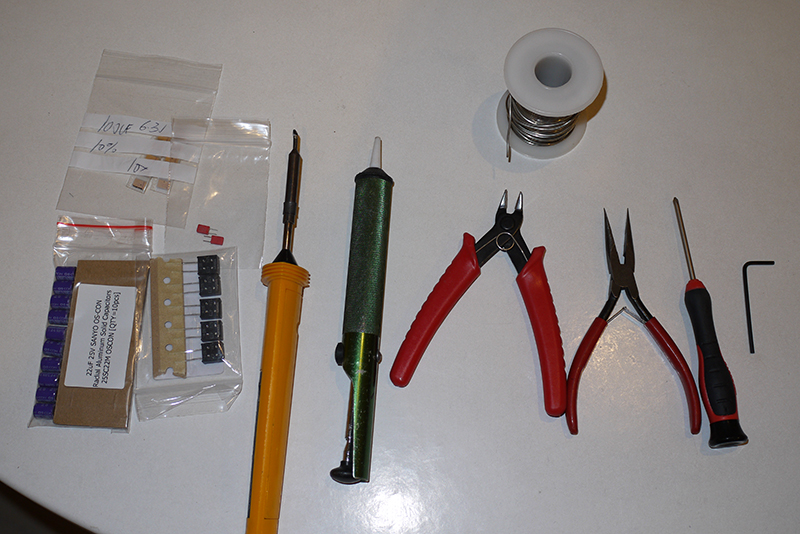
Make sure you have a temperature controlled soldering iron and a desoldering pump. This is especially required for removing C73/83 where the ground plane was removing the heat almost as fast as my iron could provide it. Desoldering braid is pretty useless. I use 5.5% silver content lead/tin solder (you can't buy it in the UK due to EU regulations, but eBay comes to the rescue). Try to avoid the lead-free type as it is pretty awful to work with. A 2mm hex key is also required.
Mods
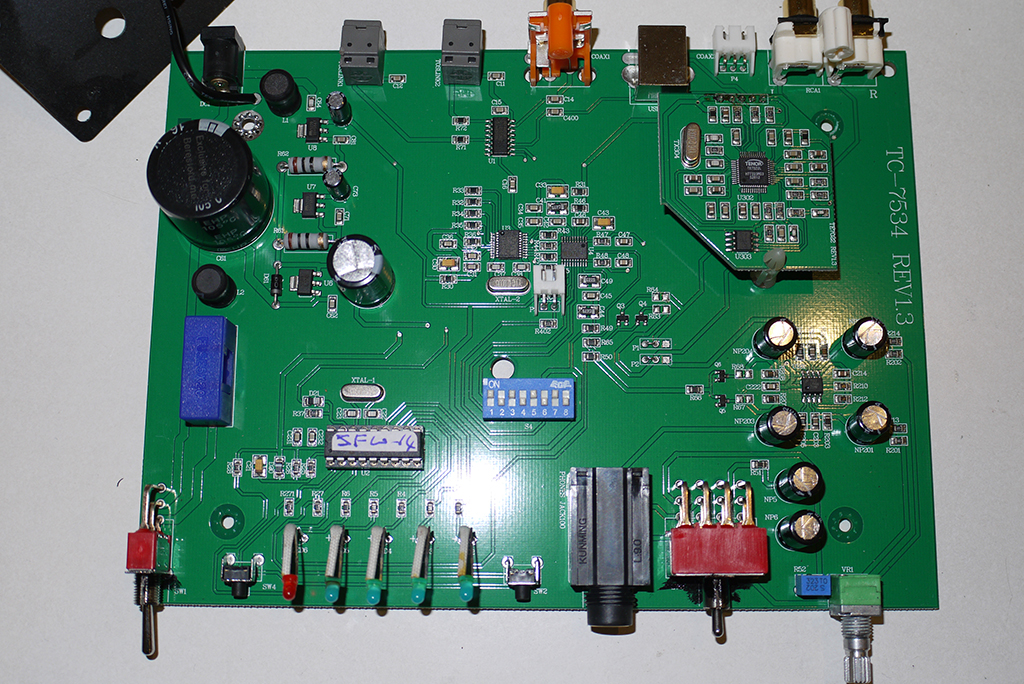
Disassemble the Caiman-II and remove the PCB. I found it easiest to completely remove the front and rear panels and feed the rear panel through the case hole (I could find no way of removing the ground terminal from the rear panel without damaging it). Lift the LEDs clear, they can be reshaped upon assembly. Pull the knob off and remove the nut and washer behind it. Try to catch the two gold buttons as they fall irretrievably into the furthest crevasse imaginable.
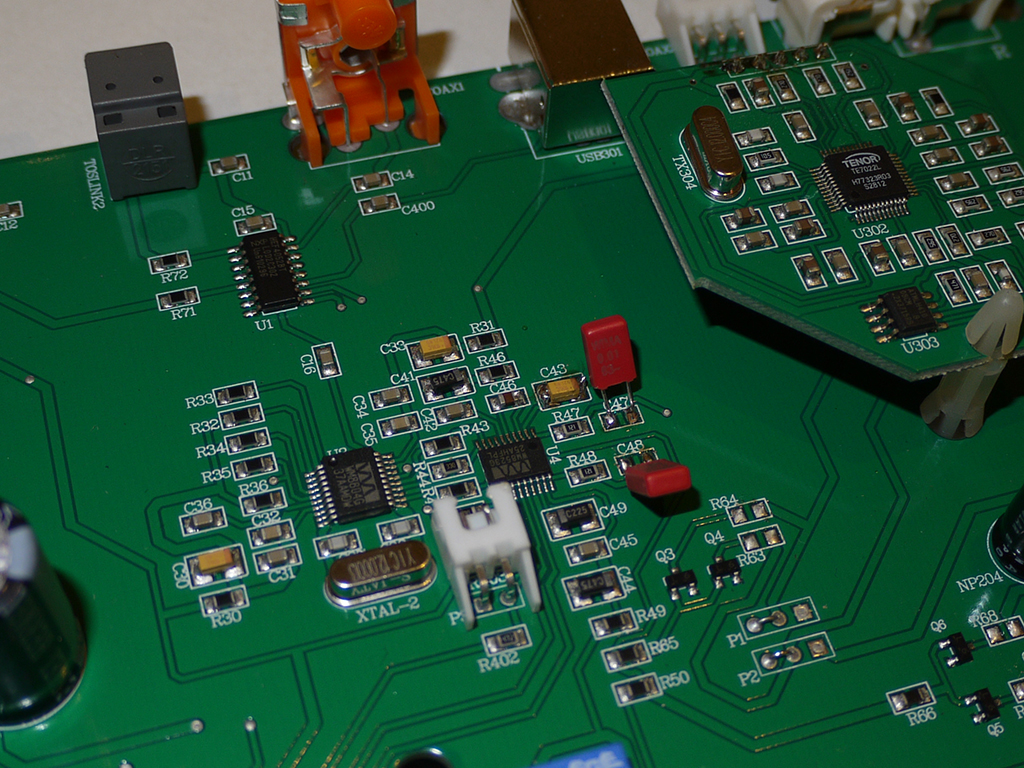
C47/48 SMDs are best removed by sucking the solder at each end and then wiggling under heat to persuade each end to come loose. Use fine long nosed pliers (or tweezers) to pull them free. Bend the ends of the legs of the WIMA capacitors and tack-solder one leg to a pad, properly solder the second leg and then return to the first leg. These caps are not directional.
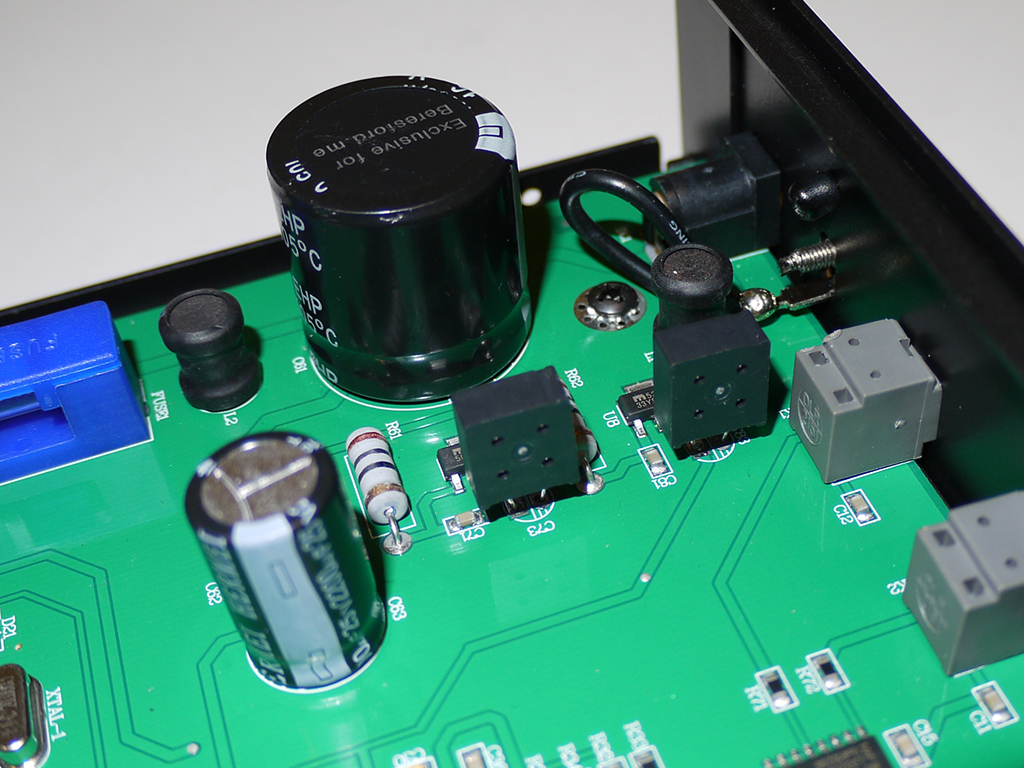
Underneath the PCB, desolder the legs of C73/83 electrolytics. This is very hard to do as it requires a lot of heat. Wiggle each cap free while applying heat to the other side. You will require at least three arms. Solder suck the holes clear. Solder in place the Tokin supercaps, taking care to orient them the correct way (negative towards the back, writing towards the left side of the PCB).
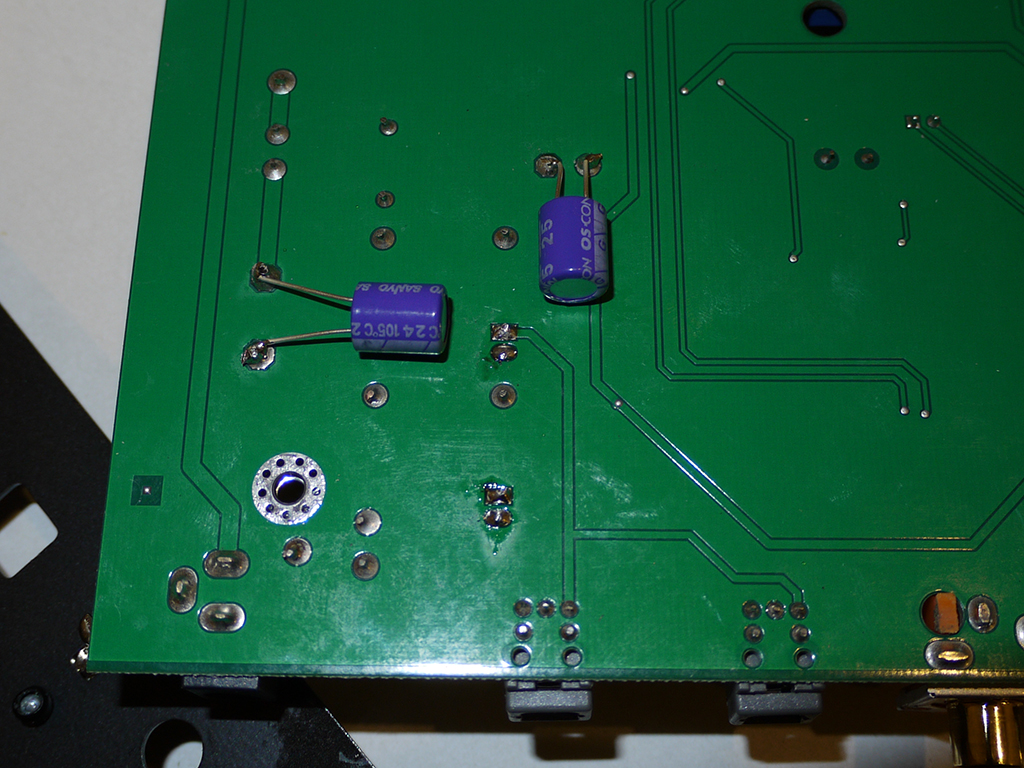
On the underside, add the Os-Cons in parallel with C61, C63 taking care about directionality (you can see the white strip -ve side of both in my photo, follow the polarity of the big caps topside) and laying them absolutely flat against a plain section of the PCB since space is very tight. I've added this mod because Os-Cons sound excellent in PSU smoothing applications and tend to make the bigger reservoir capacitors sound like a big Os-Con.
Reassemble the Caiman-II, taking care to poke the LEDs back fully into their holes, holding the gold buttons which you lost earlier in position and tightening up the front panel. Don't forget the nut before pushing on the knob. I did.
Sound
Since these mods are almost all about power rail smoothing, I wasn't sure if I was going to hear much change at all, especially as I run my Caiman-II from battery power. Good news! That slight lack of authority and bass extension is cured, the SFWv4 firmware getting the smoothing it needs from its increased current draw. What's also interesting is that the sound is now more dynamic than before, displaying a real ability to swell and knock you back with well recorded material like Lorde's Pure Heroine.
Part 2 will happen when I receive the proper size components and the resistors.
Part 1
This set of mods will bring your Caiman-II DAC up to Venom-3 level and a little further. A warning is appropriate here: if you cannot solder, this is not the project to learn on. Some of the components are extremely tiny and you run the risk of trashing your very nice DAC.
Shopping List
| C43 | 100uF 4V min. tantalum SMD B size |
| C49 | 100uF 4V min. tantalum SMD B size |
| C44 | 10uF 4V min. tantalum SMD B size |
| C47/48 | 10nF or 15nF 63V WIMA |
| R47/48 | 120 Ohm ¼W metal film |
| C73/83 | 47000uF 5.5V Tokin supercap |
| C61/63 | 22uF 25V Sanyo Os-Con |
| CPU/Firmware | SFWv4 (from Stan) |
Unfortunately I thought I was buying B size SMD caps but what arrived were C size - too large to fit the solder pads. So C43, C49 and C44 (as well as R47/R48) are not yet done in my part 1. Since I won't need to remove the PCB again, part 2 will at least be easier to implement.
Tools
Make sure you have a temperature controlled soldering iron and a desoldering pump. This is especially required for removing C73/83 where the ground plane was removing the heat almost as fast as my iron could provide it. Desoldering braid is pretty useless. I use 5.5% silver content lead/tin solder (you can't buy it in the UK due to EU regulations, but eBay comes to the rescue). Try to avoid the lead-free type as it is pretty awful to work with. A 2mm hex key is also required.

Mods
Disassemble the Caiman-II and remove the PCB. I found it easiest to completely remove the front and rear panels and feed the rear panel through the case hole (I could find no way of removing the ground terminal from the rear panel without damaging it). Lift the LEDs clear, they can be reshaped upon assembly. Pull the knob off and remove the nut and washer behind it. Try to catch the two gold buttons as they fall irretrievably into the furthest crevasse imaginable.

C47/48 SMDs are best removed by sucking the solder at each end and then wiggling under heat to persuade each end to come loose. Use fine long nosed pliers (or tweezers) to pull them free. Bend the ends of the legs of the WIMA capacitors and tack-solder one leg to a pad, properly solder the second leg and then return to the first leg. These caps are not directional.

Underneath the PCB, desolder the legs of C73/83 electrolytics. This is very hard to do as it requires a lot of heat. Wiggle each cap free while applying heat to the other side. You will require at least three arms. Solder suck the holes clear. Solder in place the Tokin supercaps, taking care to orient them the correct way (negative towards the back, writing towards the left side of the PCB).

On the underside, add the Os-Cons in parallel with C61, C63 taking care about directionality (you can see the white strip -ve side of both in my photo, follow the polarity of the big caps topside) and laying them absolutely flat against a plain section of the PCB since space is very tight. I've added this mod because Os-Cons sound excellent in PSU smoothing applications and tend to make the bigger reservoir capacitors sound like a big Os-Con.

Reassemble the Caiman-II, taking care to poke the LEDs back fully into their holes, holding the gold buttons which you lost earlier in position and tightening up the front panel. Don't forget the nut before pushing on the knob. I did.
Sound
Since these mods are almost all about power rail smoothing, I wasn't sure if I was going to hear much change at all, especially as I run my Caiman-II from battery power. Good news! That slight lack of authority and bass extension is cured, the SFWv4 firmware getting the smoothing it needs from its increased current draw. What's also interesting is that the sound is now more dynamic than before, displaying a real ability to swell and knock you back with well recorded material like Lorde's Pure Heroine.
Part 2 will happen when I receive the proper size components and the resistors.

