Deleted
Deleted Member
Posts: 0
|
Post by Deleted on May 12, 2018 12:15:03 GMT
When you get it sorted please before you solder ask me for tip on how, it is not easy.
|
|
Deleted
Deleted Member
Posts: 0
|
Post by Deleted on May 12, 2018 13:10:35 GMT
Cheers, Colin. Due to my wanderlust and inability to stay in one place, it may be a few weeks, but I will do this and feature it here. Hopefully others might make some too.
|
|
|
|
Post by zappytheviking on May 23, 2018 16:05:13 GMT
Well I am ready to start tonight, I got 0.3mm silkcovered and enameled wires, 25-30 a bunch.
Will post pics shortly.
Any tips on stripping and preparing the tips welcome. So far my idea is to try and burn it off with a jet lighter.
Or perhaps the super tedious sanding of 240 individual strands, iiik.
|
|
Deleted
Deleted Member
Posts: 0
|
Post by Deleted on May 24, 2018 12:25:38 GMT
The lighter heat will soften the copper, so do not do that, use a hot soldering iron and on the end at 90Deg heat and flow solder down, most insulation now day is self fluxing, so it should be OK On my Weller Iron I use a number 9 wide tip. See rough lines below.  |
|
|
|
Post by zappytheviking on May 25, 2018 17:40:43 GMT
Thanks Colin, got it to work, but slow going, need a much more powerful iron. 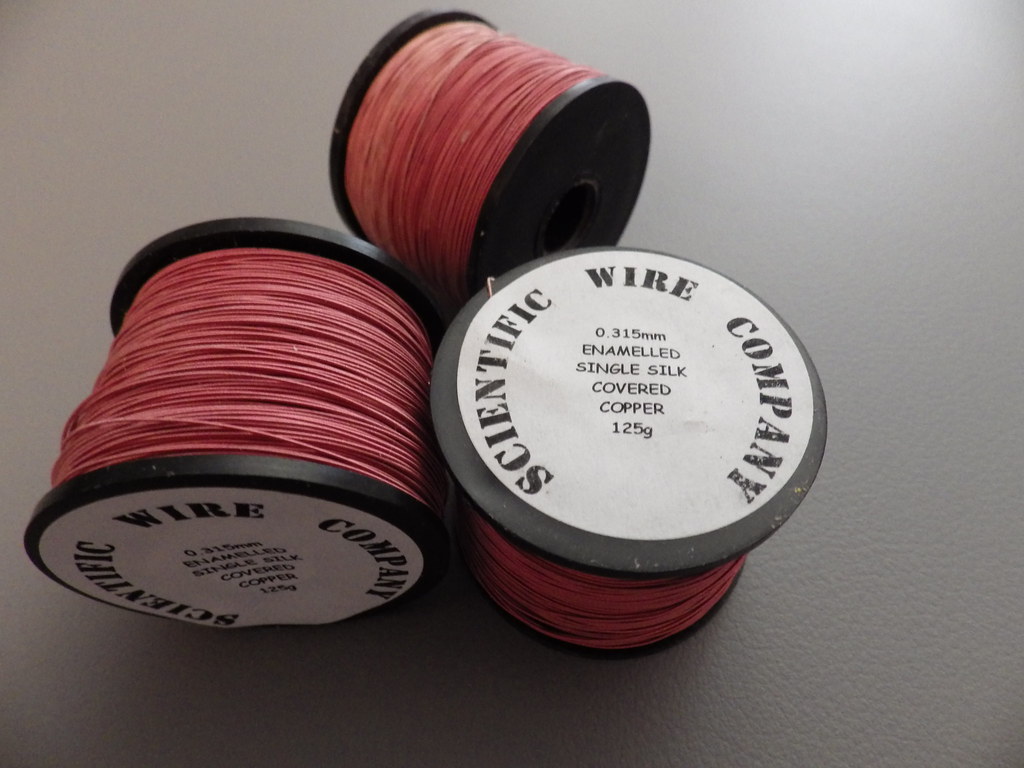 First one is finished, few more hours to get the second one done, surprising amount of bleepin work it was. 25x0.3mm per conductor, 500m all in all 12 solid hours of work to finish the pair. Especially the tangles, avoided them in the end by stringing leads from a door handle and taping them down. 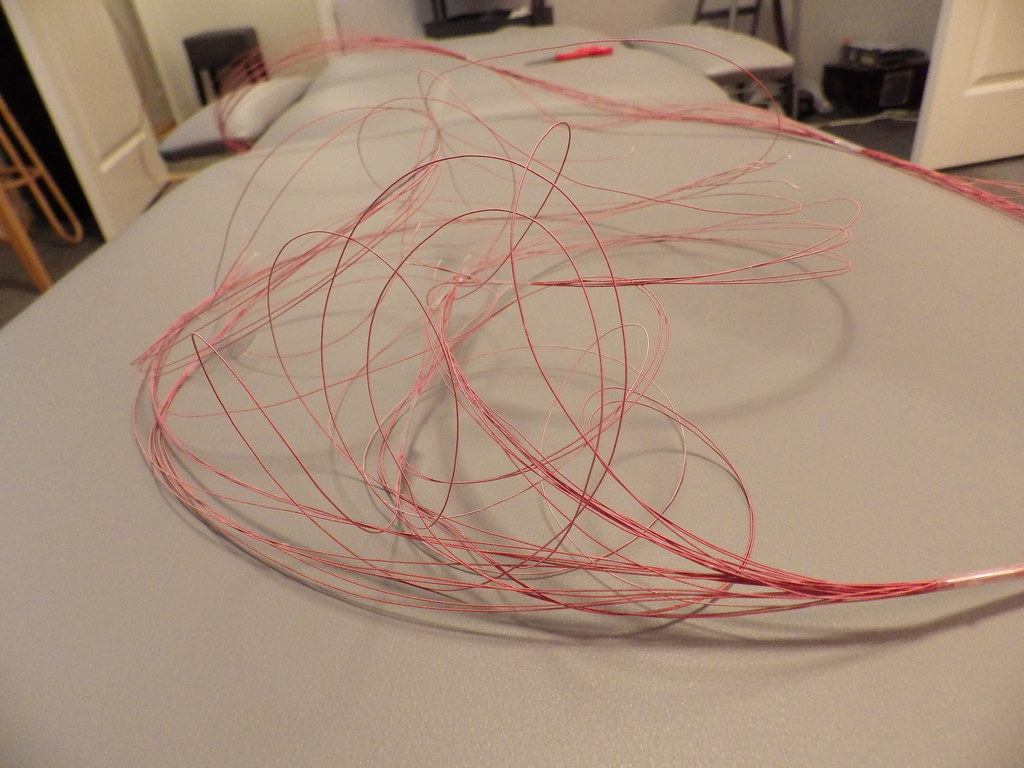 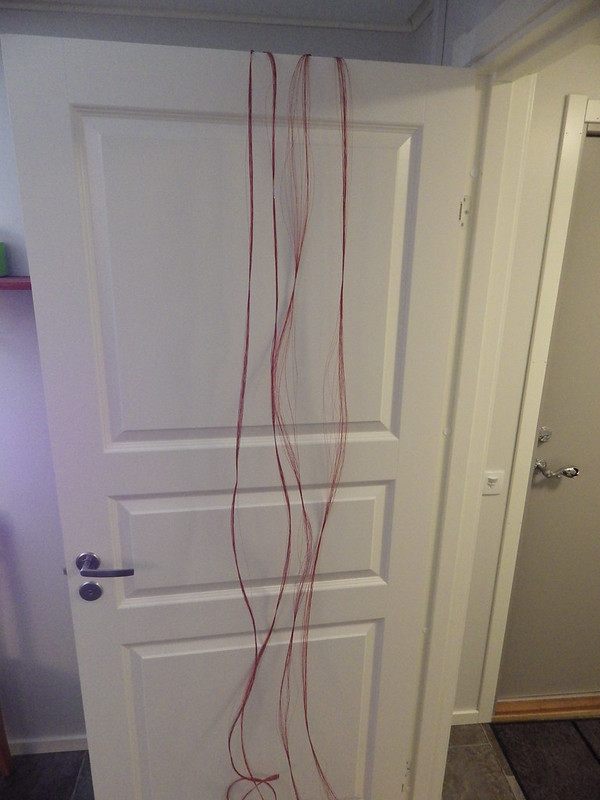 Temporarily soldered a loop on them and twisted with drill until compliant, otherwise the tangles are hellish, also easier to get into tubes, not easy that either. Had to cut the 5m tubes in half and push a wire thru and solder the end and pull through. 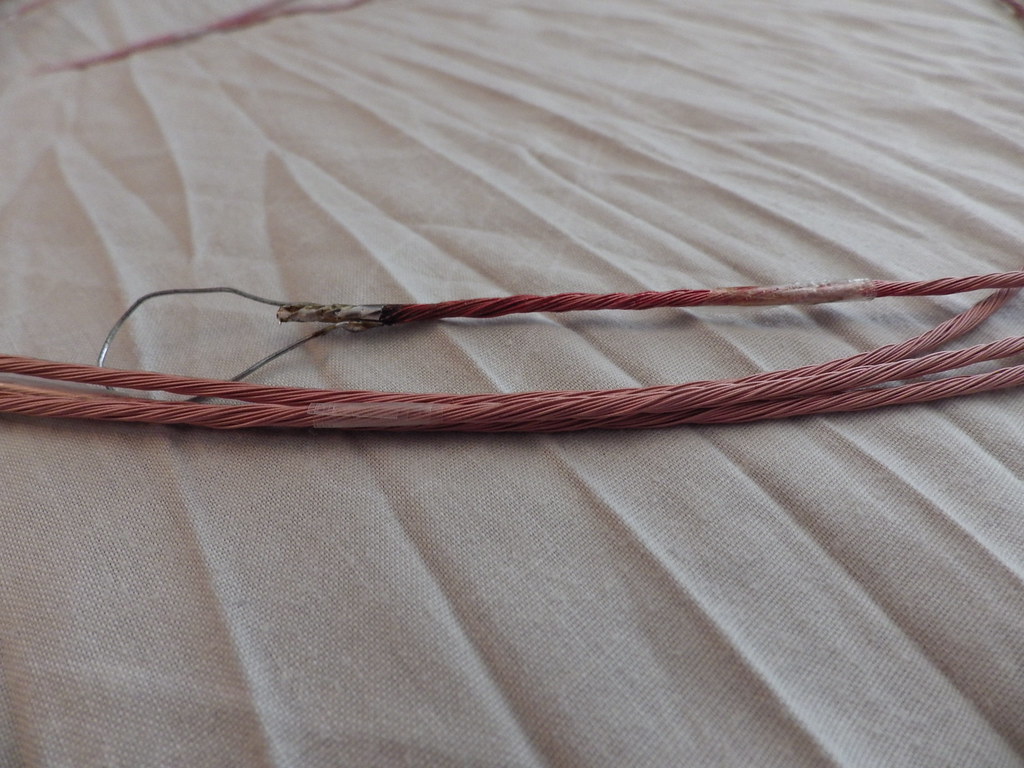 Finally in the tubes.  This is the easy part, separating tube. 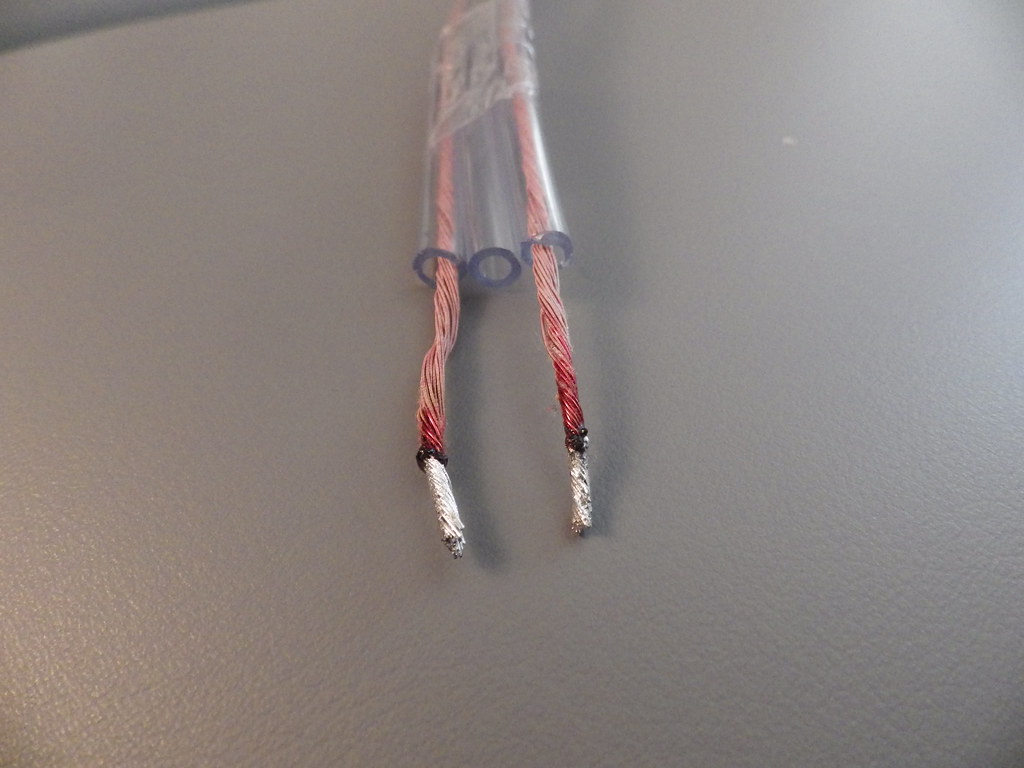 Here is the finished article. Might terminate with something at a later date, right now just happy its done, not tried it out yet. Still a few finishing touches on the second pair. 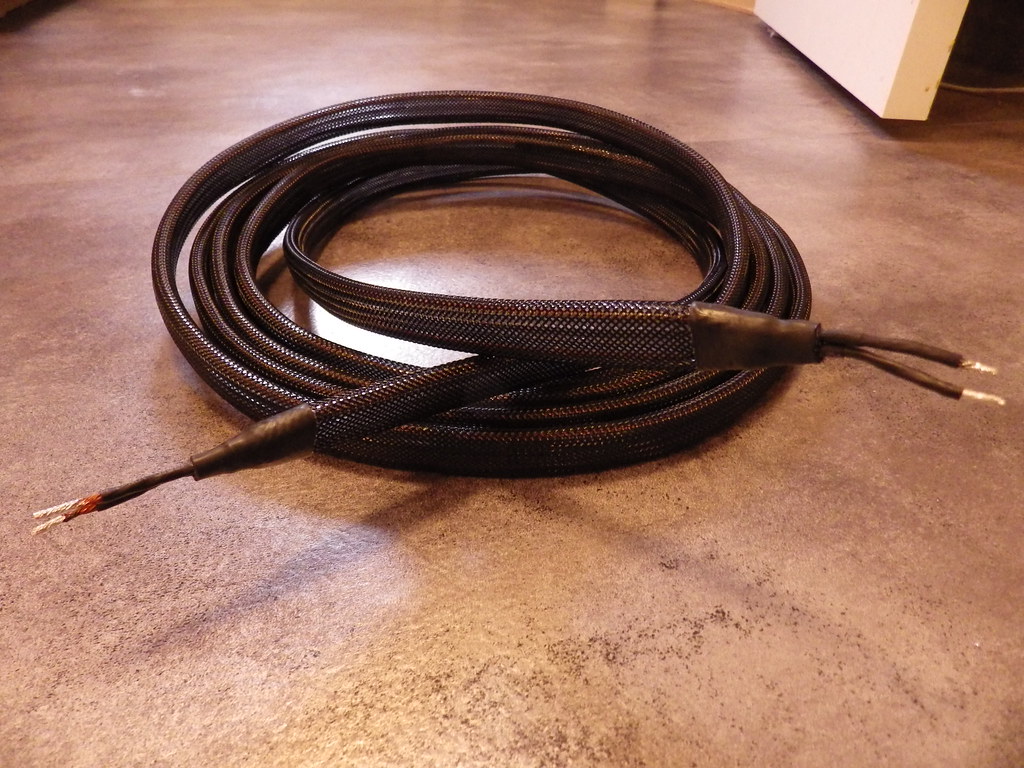 Time for some Toblerone ice cream cake and a coffe after this, Phew. |
|
|
|
Post by MartinT on May 25, 2018 21:39:36 GMT
Nicely done! That's a lot of work.
|
|
Deleted
Deleted Member
Posts: 0
|
Post by Deleted on May 26, 2018 12:31:07 GMT
Fantastic work very well done, so now you understand the cable is not easy to make, but how does is sound please.
|
|
|
|
Post by zappytheviking on May 26, 2018 15:43:44 GMT
Thanks fellas.
I agree, full days labor making from scratch, especially the first time, might shave it down to 5-6h with practice.
Measured final diameter, 3mm per conductor
The sound most certainly is a step up in many areas.
First thing i noticed was the bass, big reduction in one-note-itis. The snaps, pops and thumps are very taut and you can hear more separation in that range.
Vocals, really nice, Ariana Grande- Dangerous woman, around 30sec in, she belts out a few lovely notes, really feel it, she rips into into it like never before, presence.
Soundstage, larger and more accurate. Really ups the sensation of being surrounded by the sound, phase and time accuracy?
Music is more real, it all comes together, I dont even think of sounds being separated L/R. It was close before but this puts it over the last hump.
I did lose a little "sparkle" and "Air". Hoping some of that fairy dust will come back with a little burn in time, right now its a good trade off.
It is a clear upgrade from my bog standard 4mm OFC thats for sure, will be interesting to see what changes there might be after a few hundred hours.
I do hope others build similar cables, some more backing to my own impressions.
Edit: after 24h of pumping the sound of a babbling brook through it, can hear some of the wanted brightness/air coming back.
Blown away by detail in the vocals, in no way sharp just clear, can hear little vibratos, tinges of hoarseness, lovely.
|
|
|
|
Post by Chris on May 28, 2018 15:42:23 GMT
How was your toblerone cake?
|
|